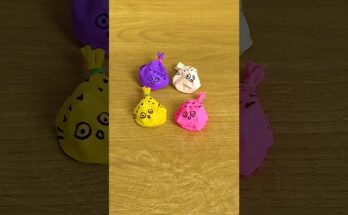
DIY Balloon Pufferfish 🐡 ~ Blowfish
Looking for a fun, easy, and creative craft project? Try making your very own DIY Balloon Pufferfish! 🐡 This delightful activity is perfect for kids, classrooms, or anyone who loves marine animals and hands-on fun.
To start, gather your materials: a balloon (preferably in a light color like yellow or pink), some construction paper or foam sheets, scissors, glue, googly eyes, and markers or paint. Inflate the balloon to a medium size—not too big—and tie it off. This will be the round body of your pufferfish.
Next, cut out the fins and tail from the construction paper or foam. You’ll need two side fins, a small top fin, and a larger tail fin. Use glue or double-sided tape to attach these to the balloon. Be sure to place the tail at the knot end of the balloon so it looks like it’s swimming forward!
Add character to your blowfish by drawing or painting small spikes all over the balloon’s surface. These can be simple V-shapes or tiny triangles to mimic the look of a real pufferfish. Then, glue on your googly eyes and draw a small mouth to complete the face.
To make it even more fun, you can suspend your balloon pufferfish from the ceiling with string or hang several in a row to create an underwater scene. Try making different sizes and colors for variety!
This DIY project is not only entertaining, but also a great way to teach kids about sea creatures and ocean life. Whether you’re crafting for a party, a classroom activity, or just a creative afternoon, the balloon pufferfish is sure to bring smiles. Dive into fun and make your own underwater friend today!

